Bug with Clone Layer through Luma Range
Hi, has anyone experienced or solved this issue, and would care to help ? Thank you !
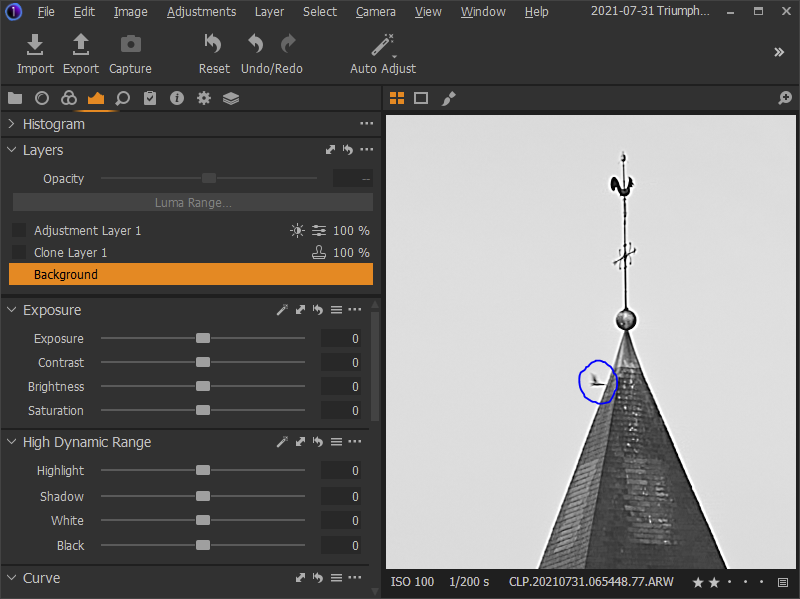
This is the background layer for my raw file converted to b&w, where I would like to remove the bird (circled in blue) and adjust the sky.
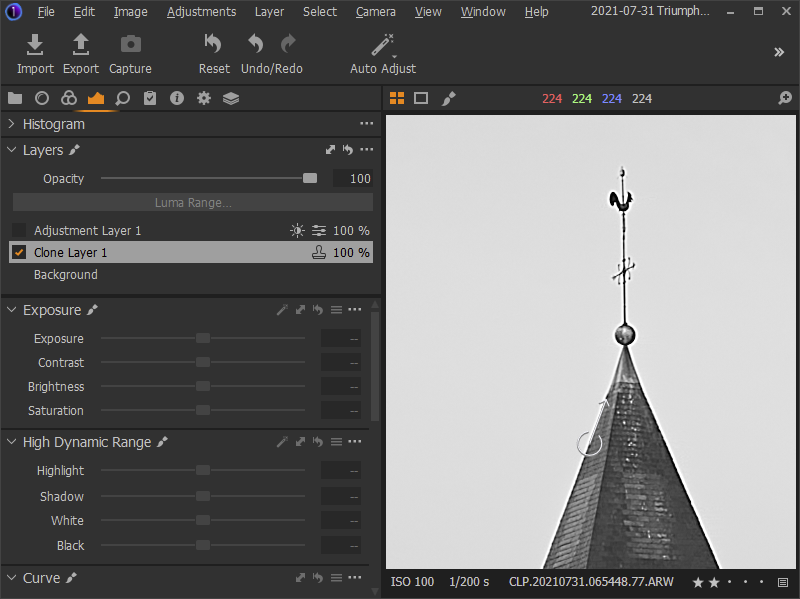
Here is the result of the clone tool, it seems to work as expected.
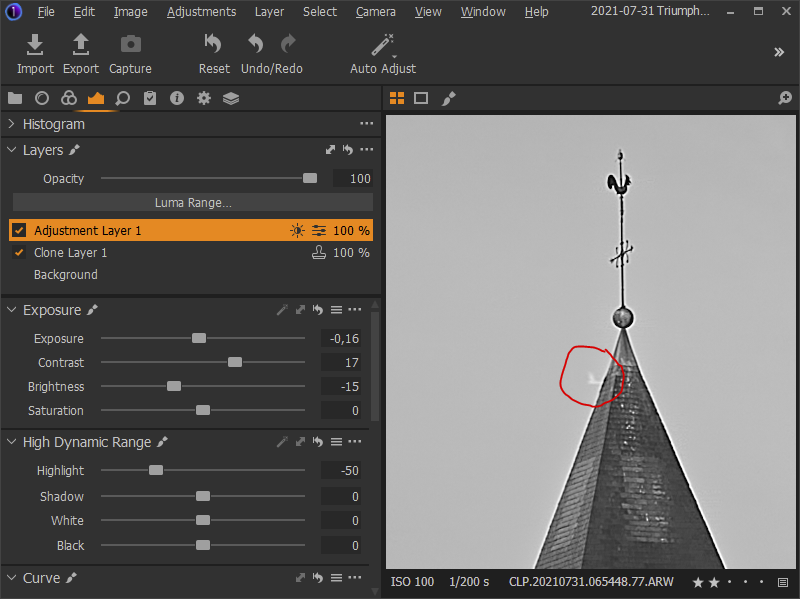
However, when adjusting the sky using a luma range mask, a ghost of the bird appears through.
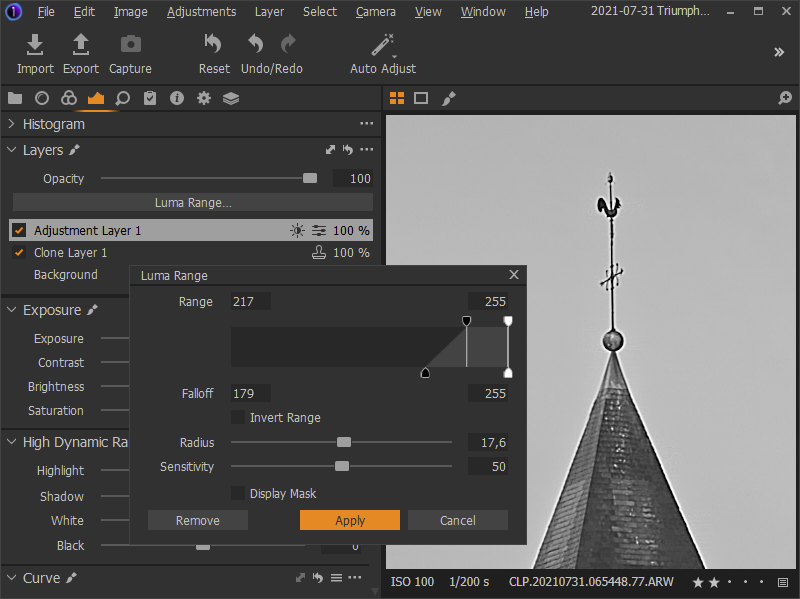
Strangely, when I open the Luma Range settings window and toggle "Display Mask", the issue might appear/disappear. The behavior is inconsistent and hard to reproduce.
I have tried swapping the order of layers, or using the Heal tool, with identical issue as a result.
Hardware acceleration is set to Auto. Running a session.
-

Does it appear on your output file(s)?
0 -

It's hard to say because I can't reproduce it.
When I exported a JPEG the issue was not visible.
(build 14.1.0.74)
0 -
I think what you are seeing is simply the result of a recalculation based on a new adjustment activity over a previous adjustment activity.
For speed of response the entire re-process stack may not always be applied when making adjustment reveision ot parts of a new layer (i.e. the parts selected or deselected as you experiment with Luma range selections.)
In extreme situations, especially noticeable with cloning and healing activities, the final adjustment requested on some other layer may exceed the amount of adjustment available for the clone or heal that has been requested.
It is a little difficult to try to describe in words but the effect might be similar to adjusting the Opacity of a clone or heal layer away from 100%.
So long as the output file looks the way you wish it to look the on-screen anomaly visible during the edit process can be ignored or thought of as a reminder that some care may be exercised to ensure that the changes applied by the edit instructions you are about to provide may have some consequences for previous adjustments. The previous adjustments may, in some situations, benefit from further attention.
I note that the image, as seen in the screen shot examples, has some edge halos (possibly the result of sharpening settings?). Given the width of the halos and the size and position of the cloned out bird, the "ghost" effect may simply be the result of the entire bird being turned into a sharpening halo in the absence of the full clone layer being re-applied until the new layer edits are deemed to be complete.
If it's not a sharpening setting then the halo effect may be something related to lens characteristics or, perhaps, a B&W conversion setting?
Have you considered removing the bird using the "dust" setting of the "Spot" tool? I'm not sure it would work for you in this case as the bird and steeple roof overlap, but if it would work the result may be more consistently displayed during subsequent layer editing work as it is applied to the background layer rather than an intermediate adjustment layer.
0 -
Hi SFA, thanks a lot for the detailed feedback.
That would explain why it's not easily reproducible.
The edge halos were indeed caused by the global sharpening settings, and not due to the lense (that would have been an expensive problem to solve !) or to the B&W conversion. -thank you I fixed it.
I also tried your suggestion to remove the bird using the spot and dust removal tools but it's too close to edge of the steeple and causes unwanted artifacts.
As a conclusion, the problem is fixed on the preview image and was never a problem on the output files.
Thank you.
0
Post is closed for comments.
Comments
4 comments