See our video tutorial here – new for Capture One 23
Capture One Styles do not dynamically alter adjustments based on the image they were applied to. Each style comprises a group of fixed settings or values. There is, for example, no automatic adjustment of the Exposure, High Dynamic Range or the Levels tools.
If you want to apply automatic adjustments, you should apply those first either at the time of import or in the Adjustments menu -> Configure Auto Adjustments or by clicking on the Auto Adjust icon in the main toolbar (click and hold the Auto Adjust icon to see what tools are being adjusted).
It is not necessary to make a color correction (i.e., apply a white-balance) before working on an image using a Style. However, in certain circumstances, it may be necessary to make a white-balance adjustment after the Style has been applied.
- Select an image in the browser.
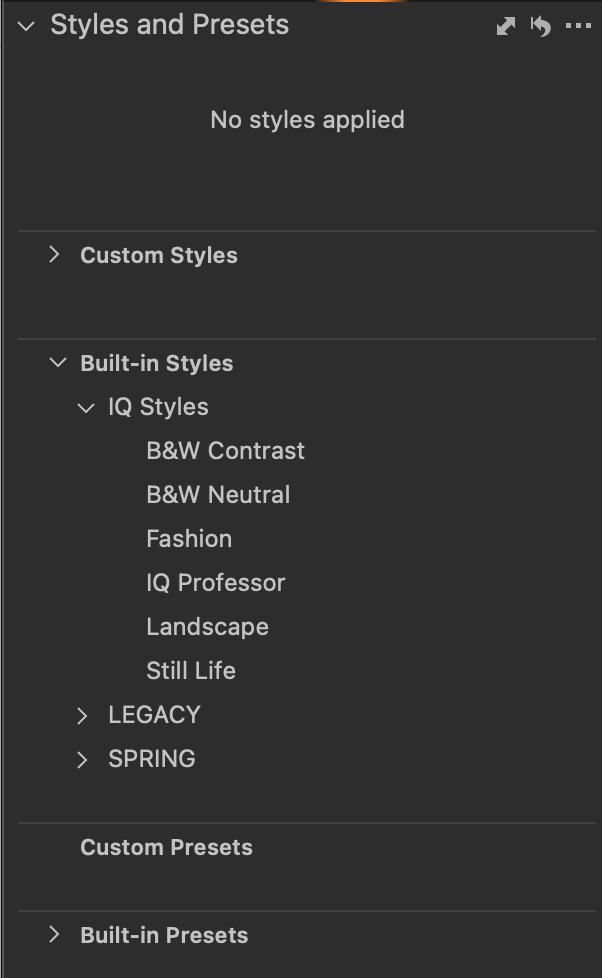
- Navigate to the Styles and Presets tool in the Style tool tab or from the Adjustments menu.
- Go to the Built-in-Styles folder (or Custom Styles folder) and scroll over the list.
- You can preview the effect of the Style in the Viewer by hovering the cursor over the named Style in the list. The selected Style will be highlighted in the list and, after a short delay, the effect will be previewed on the primary variant or all selected variants and corresponding thumbnails in the browser.
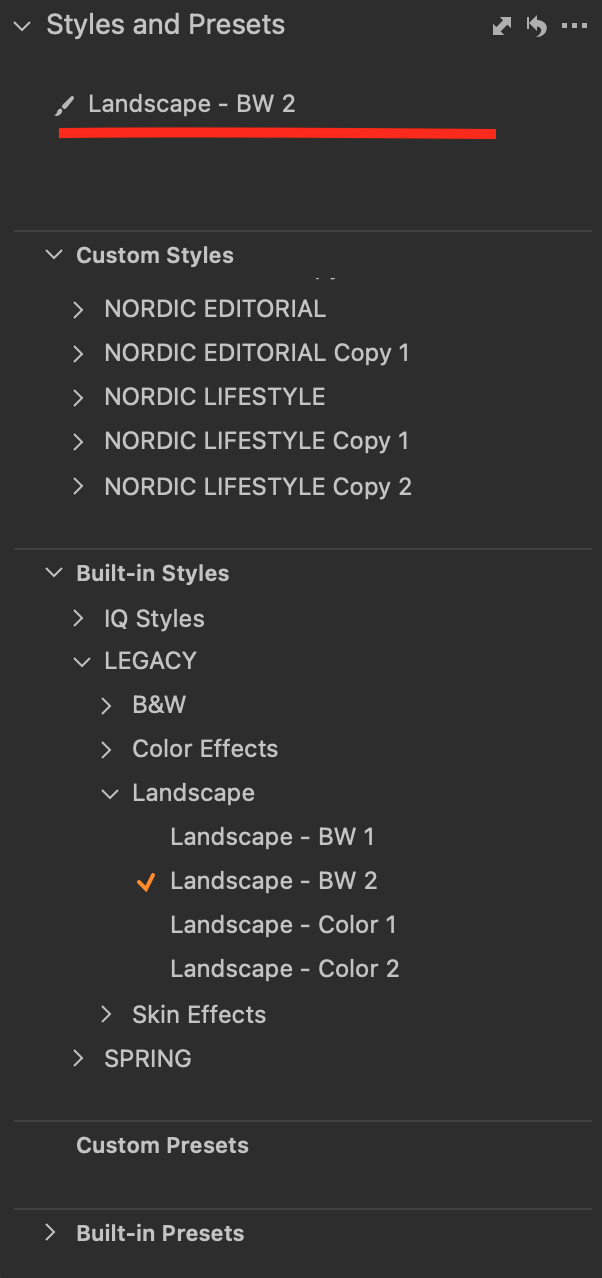
- To apply the Style to the image, click on the desired Style from the list. A small check-mark will appear in front of the selected Style in the list and the image will be updated in the Viewer. If you select the wrong Style, click on it again in the list to remove the check-mark. The image will be updated in the Viewer (without the previously applied Style). Adjustments are automatically saved to the image or images.
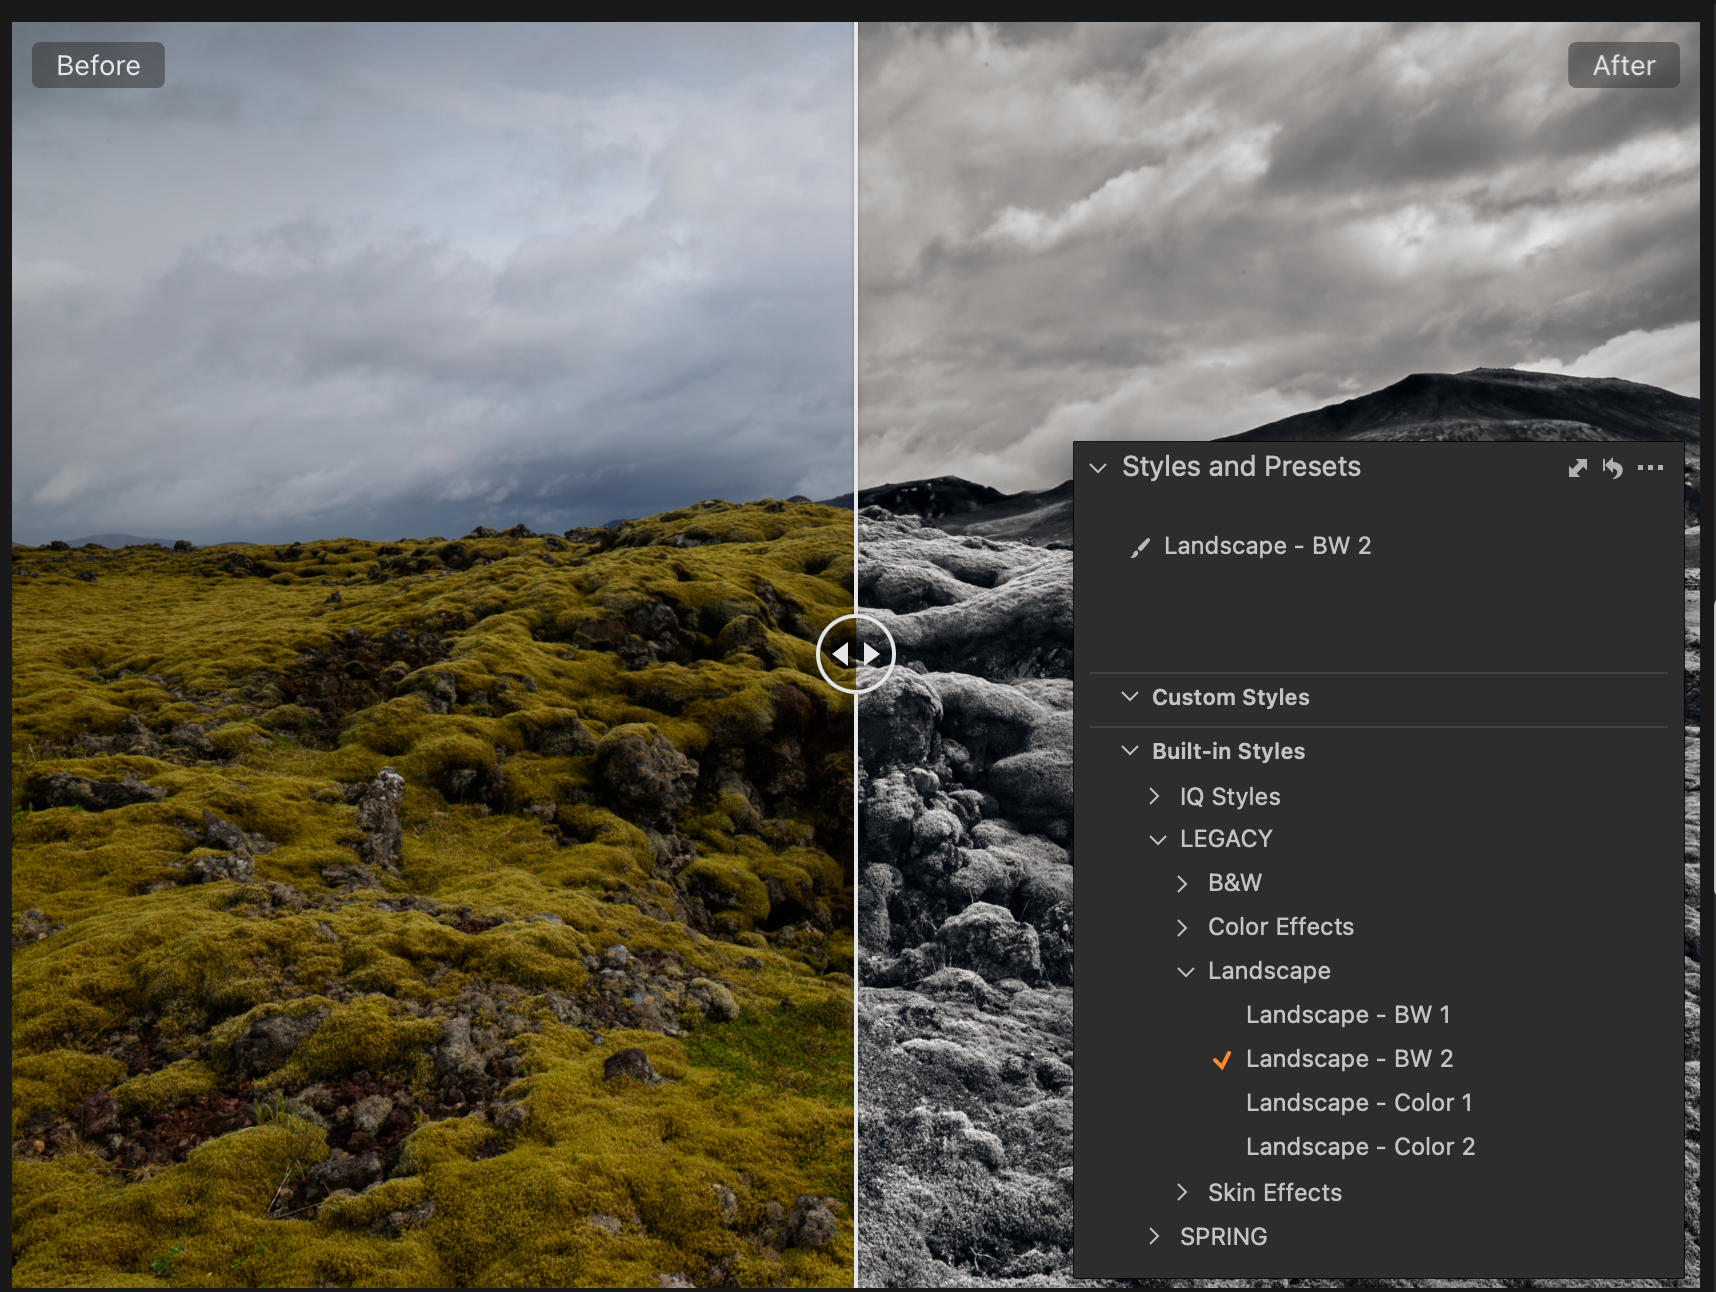
- When selected, the Style is listed just right at the top of the Styles and Presets tool. All Styles applied to the selected image are also listed there.
Pro tip
Capture One Pro 23 has arrived, and you can now add multiple Layers to your image through Styles and adjust the opacity of each Layer for the best look. Only version 23 supports Layers in Styles.
Suppose you’re working with other versions (21, 22, Capture One for iPad) or prefer the existing functionality of applying Styles
to the background or a single Layer – in that case, all Styles Packs include a standard version you can install.
Disclaimer
Due to technical limitations, specific tools cannot be applied to a layer or saved as part of a layered Style. Instead, they will be applied directly to the background.
The limited features are: - Vignette tool
- Black and White tool - Film Grain
- ICC Profiles
- Film Curves
- Color Noise and Single Pixel Noise Reduction - Diffraction Compensation
<< An overview of Styles | Applying Styles and Presets to layers >>
Comments
0 comments
Please sign in to leave a comment.