Overcoming diffraction is challenging for photographers trying to maximize sharpness through the use of extended depth of field, and it is especially burdensome in close-up work and landscape photography, where small apertures are crucial. Diffraction reduces micro-contrast first and then resolution as you stop down beyond a certain aperture, which is known as the diffraction limit. Stopping down beyond that point will only reduce the resolution.
Capture One’s Diffraction Correction option enables you to close down at least one step further than you would be able to do so without it. Selecting this option helps to mitigate the effect using a sophisticated deconvolution algorithm to sharpen the image and restore some of the fine details that were lost during capture. Note that this feature is not enabled automatically as it is processor-intensive when images are viewed at 100% magnification. When the time comes to output files, it extends processing times. Enabling this tool and the application of Sharpness Falloff correction can be considered as the first stage in capture sharpening. Note that this feature is compatible with RAW files only.
- Select an image or multiple images from the browser.
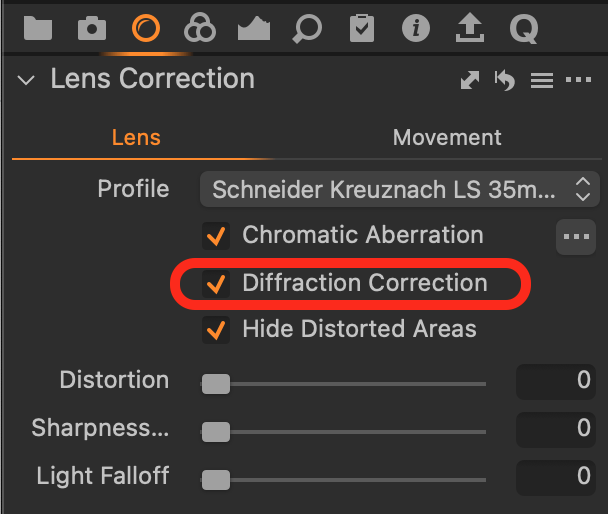
- Go to the Lens tool tab and select the Lens Correction panel.
- From the Lens tab, enable Diffraction Correction with a checkmark to apply the correction.
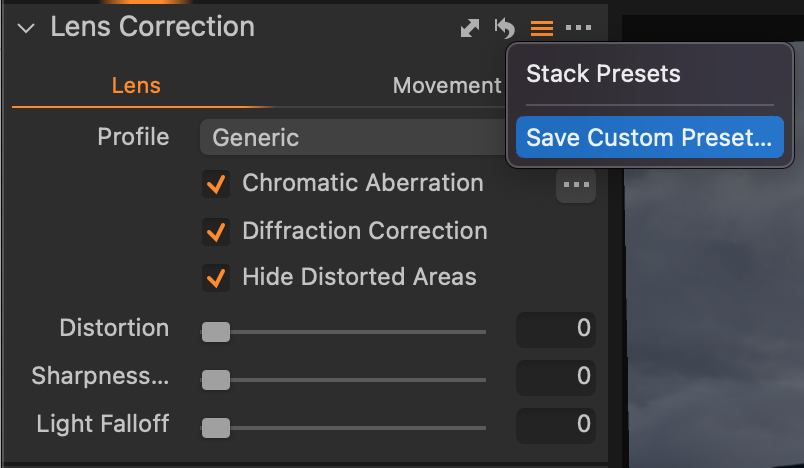
- The setting can be saved as a component of a Custom Preset and applied to multiple images onwards.
<< Removing purple fringing | Diffraction correction with a manual lens >>
Comments
0 comments
Please sign in to leave a comment.