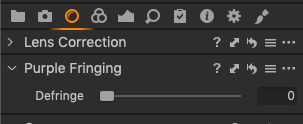
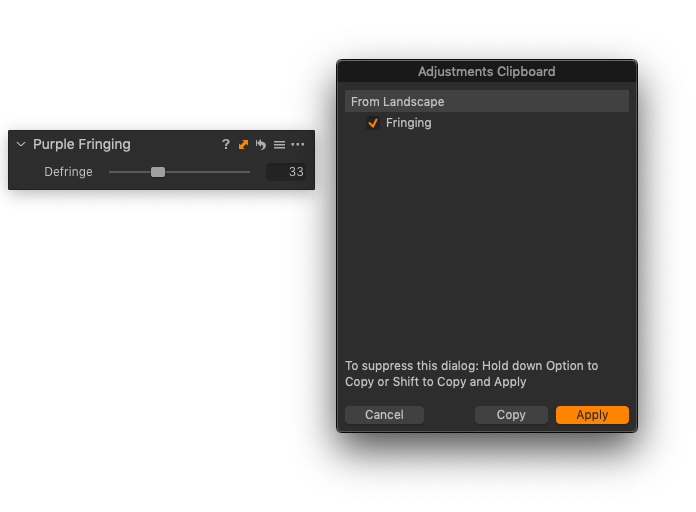
Capture One features a specifically designed tool to remove purple fringing. It includes a familiar slider allowing control over the intensity, as well as the typical options to save the resulting set to the adjustments clipboard or as a preset. Both of those allow the setting to be applied to multiple images. Although the Purple Fringing tool is offered as a standalone control for global corrections, purple fringing removal can also be applied locally, using an adjustments layer. As a result, the Purple Fringing tool can be found under the Lens tool tab as well as the Local Adjustments tool tab.
- Go the Lens tool tab and select the Purple Fringing tool.
- Zoom to at least 100% in an area displaying a fringe with a purple hue along a high contrast edge. Note that the inclusion of complementary cyan, magenta, or yellow-green fringes usually indicates chromatic aberration.
- To reduce the intensity of the purple fringing, drag the slider to the right. If the fringing is severe, it may not be possible to remove it entirely.
- The setting can be copied and applied to other image files using local copy and apply.
Also, the settings from the Purple Fringing tool can be saved as a User Preset if required and later applied to other images.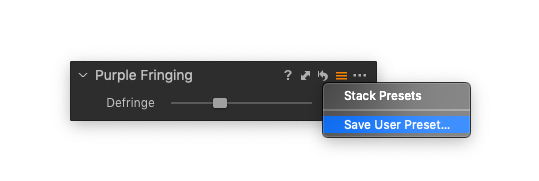
<< Removing chromatic aberration | Diffraction correction >>
Comments
0 comments
Please sign in to leave a comment.