The Curve tool can be used to correct color casts. If those have been corrected already by using the individual Red, Green, Blue Channel mode of the Levels tool, then there is likely no need to do so in the Curve tool.
If only a combined RGB adjustment was made (i.e., setting the black and white clipping points), then the Curve tool is arguably the best tool. It can also be used to add color in the shadows, mid-tones or highlights. Alternatively, consider using the Color Balance tool instead.
When adjusting individual color channels, the Curve tool may be duplicated in any tool tab. Left-click on the tool and select Add Tool -> Curve. Repeat for each channel.
- Go to the Exposure tool tab.
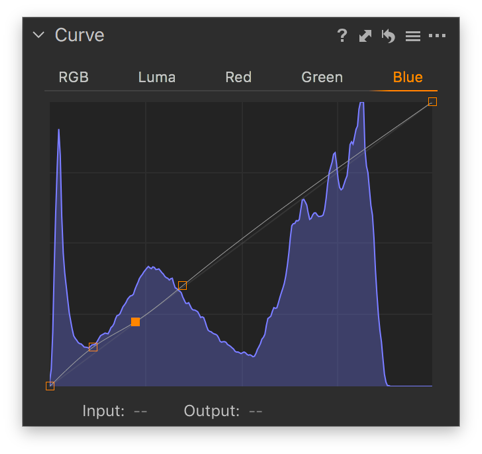
- In the Curve tool, select individual Red, Green, or Blue channel to adjust the color balance.
- Click directly on the slope to add a control point in the tonal region that you want to adjust. The upper-right part of the slope adjusts highlights and the center adjusts mid-tones. The bottom or the lower-left part adjusts the shadows.
- Click on a control point and either drag or scroll it up to add the chosen color.
- Click and drag the control point to the left or right to lower or increase contrast in the chosen region respectively.
- Add more points to the curve to adjust other areas. To remove a control point, click and press delete/backspace or drag it off the curve.
- As an option, you can also add points by selecting the Curve Point Picker and clicking on the area of your image that you want to adjust in the Viewer.
Comments
0 comments
Please sign in to leave a comment.