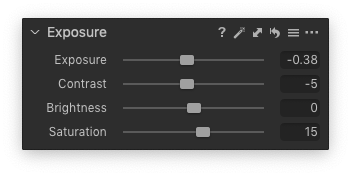
The Exposure panel located in the Exposure tool tab comprises separate tools controlled by sliders (or optional text boxes) to make tonal adjustments and correct common mistakes. Even if substantial or complex corrections are not required, practically every image can benefit from a few minor adjustments using one or more of the sliders in this panel. In many cases, the adjustments made here and with the HDR panel can replace those made with the Levels and Curves tool.
Use the Exposure tool to adjust exposure, contrast, brightness, and saturation.
Using Smart Adjustments to automatically set Exposure and White Balance
The Exposure tool changes the appearance of colors. Tones often appear oversaturated, but this can be changed by reducing the Saturation, edging the slider to the left.
- Press the Exposure Warning icon or select View -> Show Exposure Warnings from the main menu to highlight the areas of an image that may be overexposed. A (default) red color mask will fill the areas that may be "burned out" and no longer display any detail.

- Optionally enable the Shadow Warning in the Preferences to display potentially underexposed areas or shadow areas that may be "blocked" or "crushed" and can no longer display tones or detail.
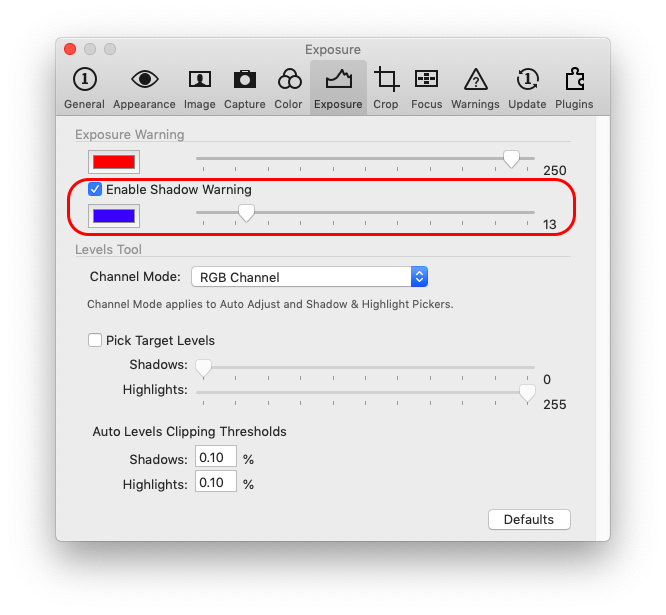
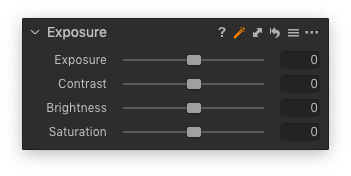
The exposure warning is highlighted with red color by default, while the shadow warning is highlighted in blue. - If you are new to Capture One, press the Auto Adjust icon
in the Exposure tool's title bar to apply an Auto-Exposure adjustment.
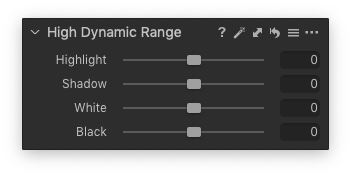
Another great way to quickly and accurately adjust Exposure is by using Smart Adjustments and Smart Styles (16.0 onwards) - Use the High Dynamic Range tool to help recover loss of detail in highlights and shadow areas. The Highlight and Shadow sliders will also affect all colors and shades. Start by trying to carefully recover the information hidden in the highlights by adjusting the slider to the right while watching the Highlight Warning on-screen. Aim to leave specular highlights (light sources, including reflections). Then gently adjust the Shadow slider while observing the blue-colored Shadow Warning on-screen. Alternatively, adjust the Exposure slider, while watching the on-screen warnings.
- Use Layer Adjustments, such as the brush or gradient, to alter the exposure if there are specific areas of an image that are overexposed.
In this tutorial, learn more about the various ways to adjust exposure and contrast in Capture One.
<< Auto adjustments | Adjusting exposure >>
Comments
0 comments
Please sign in to leave a comment.