The High Dynamic Range tool is designed to simulate high dynamic range imagery from a single image and is not meant to merge an exposure bracketing sequence consisting of multiple images.
While it is good practice to adopt optimal exposure techniques, such as ETTR, to minimize noise and maximize the sensor’s potential dynamic range to capture the widest range of tones without losing detail in the extremes, the sensor’s dynamic range cannot be extended in a single image beyond its specification in reality.
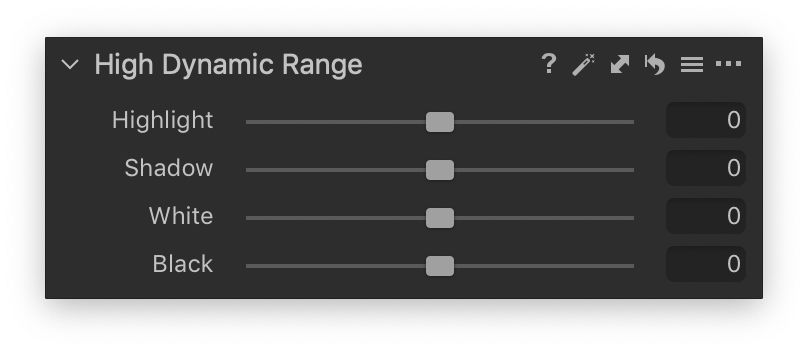
By adopting separate Highlight and Shadow sliders, the High Dynamic Range tool compresses the extreme tonal values in an image to simulate a wider dynamic range.
The Highlight slider lowers the brightness in the highlights and is used to recover detail from overexposed regions. If a channel is clipped accidentally, the tool can use the data in the other channels to reveal detail.
By analyzing the color data in the shadow regions, the HDR tool's Shadow slider adopts similar technology for determining and recovering detail that is no longer visible from underexposed images. As the brightness is increased in the shadows, the excessive adjustment should be avoided where possible. Otherwise, noise is likely to become visible.
Adjusting the Shadow and Highlight sliders in the High Dynamic Range allows not only the recovery of shadows and highlights but provides the possibility to amplify the ranges, increasing the contrast.
The Black and White sliders are used for better control of the darkest shadows and the brightest highlights making it possible to fine-tune contrast using the High Dynamic Range tool only. In case more control is needed, the Levels and Curves tools can be used.
In this tutorial, learn how to adjust exposure and contrast with the High Dynamic Range tool.
<< Adjusting saturation | Auto adjust HDR >>
Comments
0 comments
Please sign in to leave a comment.