Even when any adjustments are made on the Heal Layer or Clone Layer, you will still be able to view the "before and after" effect thereafter. This is especially useful when you want to compare the image before the repair adjustments were applied and after that.
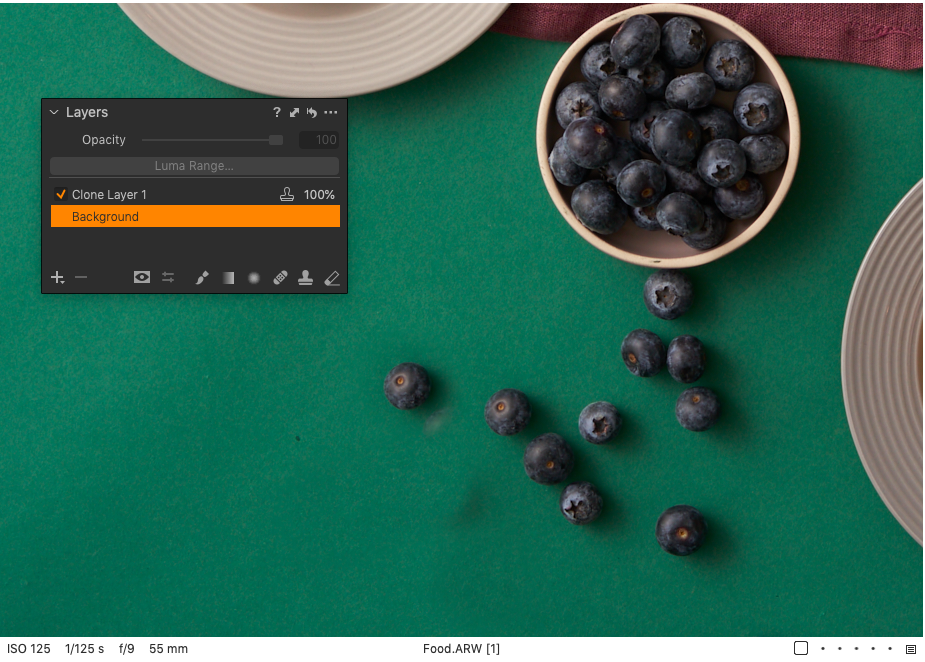
1. Click on the relevant Layer in the Layers tool to select it.
2. To view the "before and after" effect quickly, toggle the checkmark in the Layer's name bar to enable and then disable. The Background Layer cannot be disabled.
3. To return to making localized adjustments after working with a Repair Layer, click on an existing adjustment layer or create a new one.
4. To make any global adjustments to the image thereafter, remember to select the Background in the Layers tool or from the Viewer’s toolbar.
Alternatively, you can use the Before/After feature by enabling it from the main menu View -> Before After. Then click again on the View tab and navigate to Before/After Mode -> Split View Slider.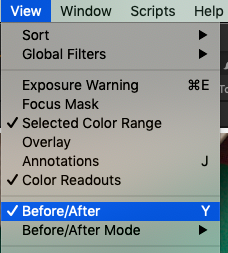
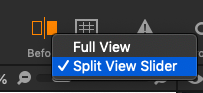
You can also enable this feature with the corresponding Before/After icon in the toolbar by long-pressing on it (when selected, it is orange) and choosing the Split View Slider option from the drop-down menu.
With the Before/After feature, you will be able to view the "before and after" just there quickly without a need to toggle the checkmark on/off on the corresponding Layer.
<< Repairing layers with the Clone tool | Annotating images >>
Comments
0 comments
Please sign in to leave a comment.