Catalogs can be saved and stored on a network drive along with the source images that are either stored separately as referenced files or managed with the images stored within the Catalog itself in the same way as an external drive. As constant access is required, you must have a version of Capture One that is compatible with the Catalog on the network drive. Otherwise, you will be asked to upgrade your local version of Capture One.
- Connect to your network drive.
- Open Capture One and choose one from the following options:
- From the Recents Window, select New Catalog…
- From the main menu, select File -> New Catalog...
- From the Library, click on the + icon and select New Catalog…
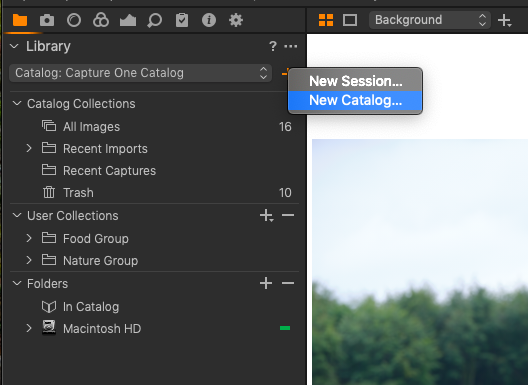
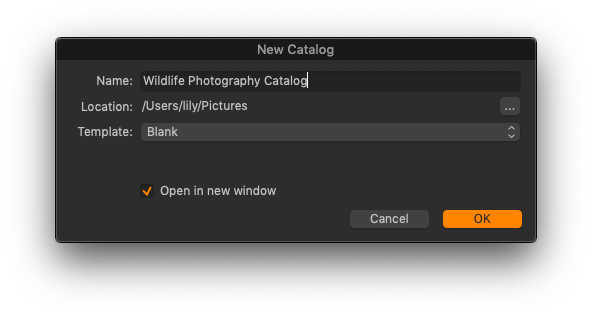
- A New Catalog dialog opens.

- In the Name text field, give a descriptive name to the new Catalog (e.g., Network Library).
- Adjacent to the Location text field, click on the Action menu (…) icon. A System window opens to select the location to save the Catalog to.
- Navigate to the network drive or NAS and select that as the root (top-level) folder or select New Folder to create and name a new one or select an existing folder and press Choose.
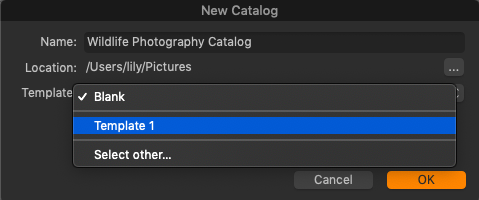
- From the Template drop-down menu, select a previously created template of albums and collections or set the option to Blank alternatively.
- Select OK. A new Catalog will be created and opened.
- You can now start to import (i.e., reference/index and cache) the source images on the network drive.
<< Offline browsing | Importing and storing images on a network drive >>
Comments
0 comments
Please sign in to leave a comment.