Output levels can be set manually by adjusting the sliders at the top of the histogram or by entering values in the boxes above. Input levels are re-mapped to those new output values.
When used this way, the Levels tool can be used to compress the tonal range and reduce the contrast in the combined RGB channel mode, giving the image an offset look in the shadows or using the individual color channels to introduce color shifts in different tonal regions.
Output values can be set before or after adjusting the input values. For example, when reducing contrast or adding a slight offset, it is usually performed after setting the input values.
- Go to the Exposure tool tab.
- In the Levels tool, select the RGB mode.
- Click on the Auto Adjust icon or adjust the image by pulling the shadow and highlight point sliders until they are just touching either end of the histogram.
- Check Highlight and Shadow warnings to identify any clipped pixels and adjust as needed.
- Adjust the middle slider to lighten or darken mid-tones as desired.
- Adjust upper shadow and/or highlight sliders or add values in the text boxes to reduce output values, while observing the effect in the Viewer.
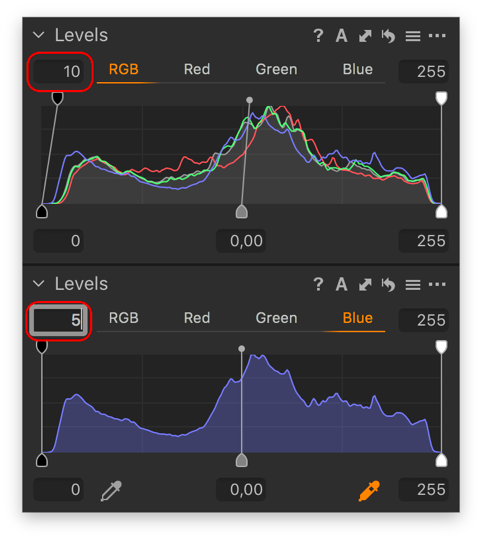
- If needed, select the individual Red, Green or Blue tabs to access and adjust separate color channels and modify the color balance using the output sliders.
- Levels settings may be saved as a preset and applied to multiple images.
Comments
0 comments
Please sign in to leave a comment.