When set to the default combined RGB Channel mode, the Auto option automatically sets black and white points, widening the tonal range, increasing contrast, and modifying the overall brightness.
The Auto option will provide a good initial result, but further fine-tuning of the input sliders is usually necessary, depending on your creative intent. Select the shadow point (left), mid-tone (middle), or highlight (right) point sliders underneath the histogram and drag to the left to lighten or to the right to darken the image.
When making adjustments, toggle on and off the highlight warning option in the toolbar while assessing the image for clipping as the red warning mask will inhibit adjustment.
In most cases, the adjustment will be based on the final destination whether in print or the web. In the latter case, it is usually a matter of adjusting brightness using the mid-tone slider.
With print, close attention is necessary when dealing with the highlight detail, though be aware that some print output profiles attempt to lighten the shadows. That is also the case when BPC is enabled when printing directly from Capture One. When assigning values, the shadow picker should be used.
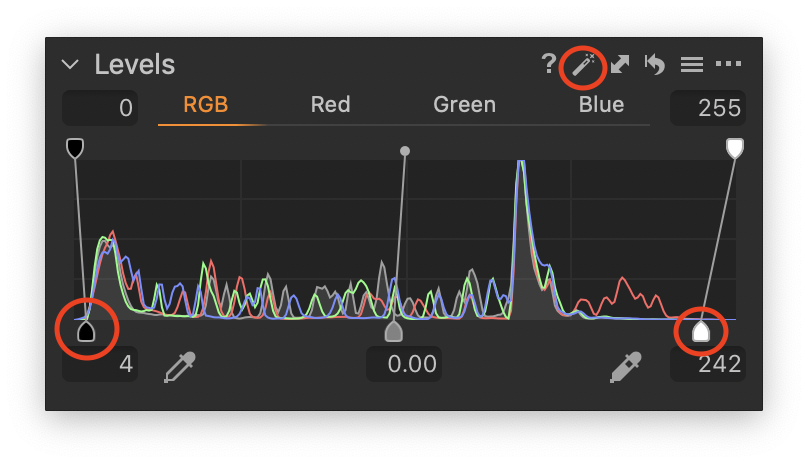
- Select an image from the Browser.
- Go to the Exposure tool tab and navigate to the Levels tool.
- Select RGB and verify the tool is in the Auto RGB Channel mode by the inclusion of shadow and highlight pickers (eye-droppers) in that tab.
- From the Level’s tool title bar, click on the A icon. New black and white points are set under the histogram. Meanwhile, the histogram is adjusted (usually expanded). The image in the Viewer will display more brightness and increase contrast.
- Optionally adjust mid-tone (gamma) brightness slider (left - to lighten, right - to darken) and fine-tune black and white point sliders to reduce clipping if any.
<< Setting Levels mode | Manual adjustment of brightness and contrast >>
Comments
0 comments
Please sign in to leave a comment.